

HOW TO DO A BASIC HOME MANICURE
Every time I go anyplace, even the grocery store, people mention my manicures, even the simple ones. (The manis, not the commenters. But if the shoe fits…)
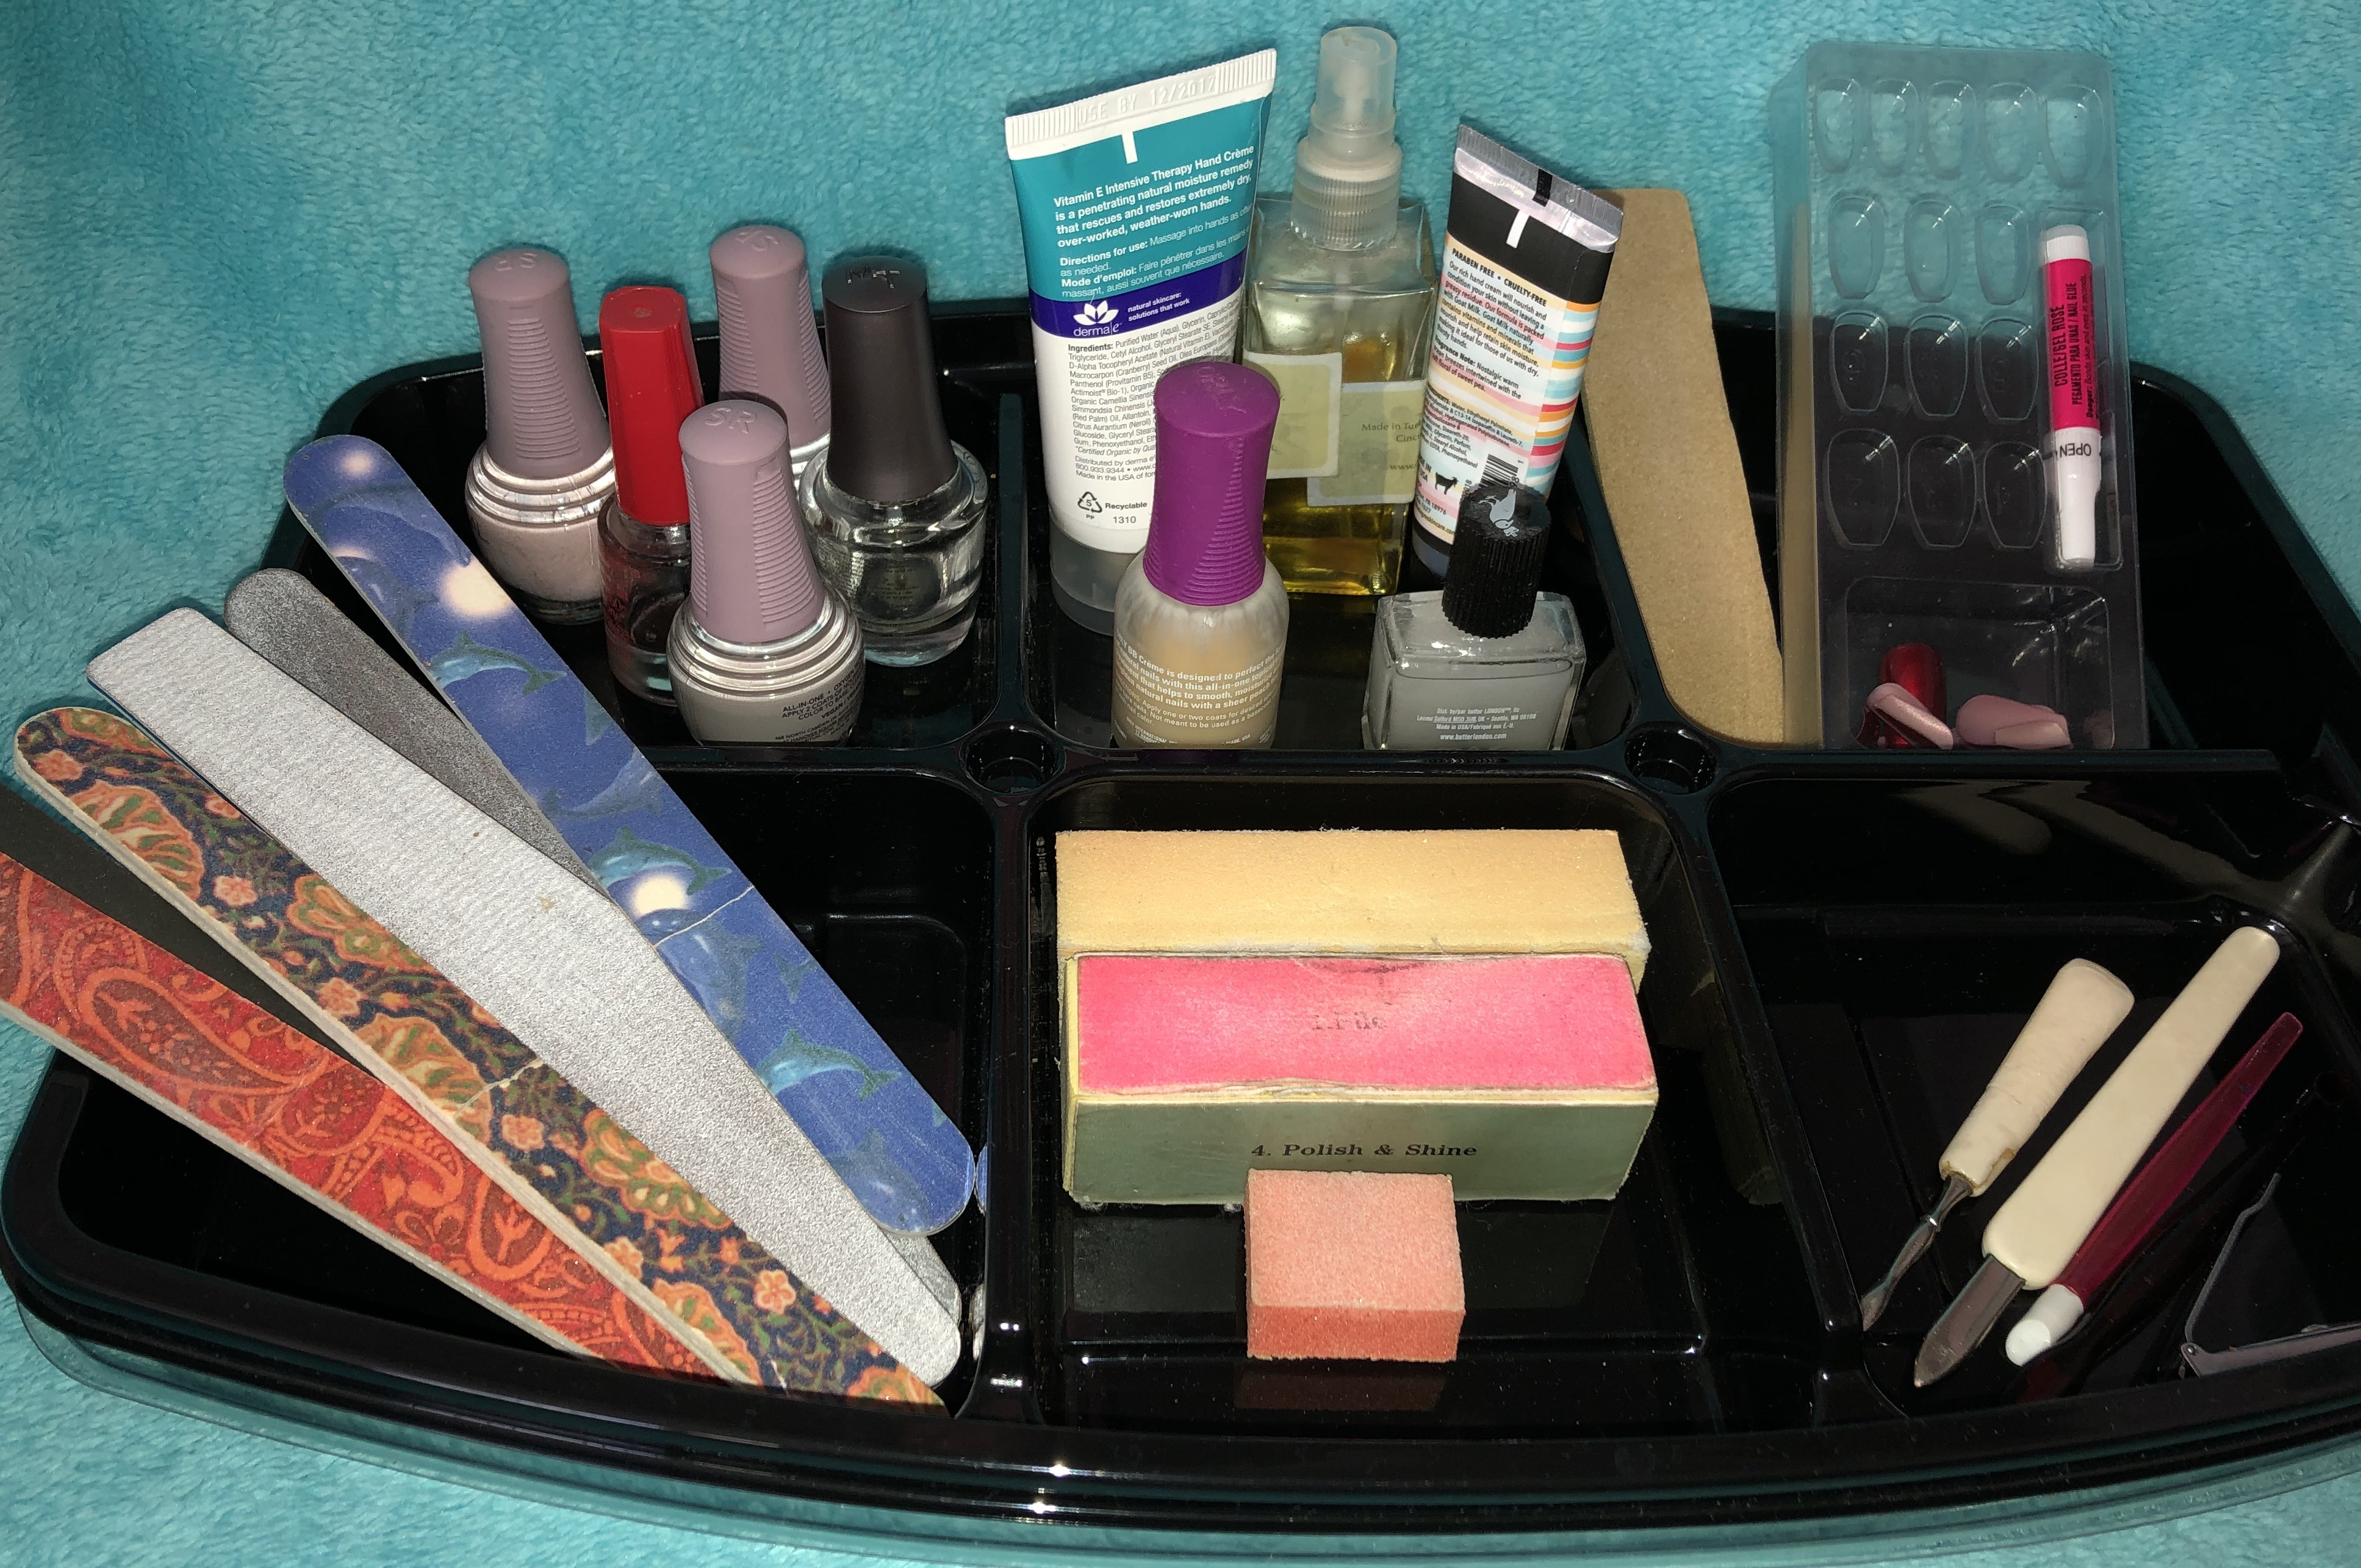
Some of the basic tools you should have on hand for your home mani. Photo by Karen Salkin.
When I tell them I do my nails myself, people are shocked. But I’ve been doing them forever. (Here’s my video tutorial, which I shot during the most isolated part of the pandemic, but this article that you’re reading now will still give you the written info, along with many and detailed auxiliary tips, so I suggest you peruse them both: www.youtube.com/watch?v=y_y6A4bxFfA.)
I’ve been obsessed with doing my nails since I was a tween; I always wrote in my diary about just how I did them. And here we are, all these years later, and I still love doing my own. Besides that it’s more cost effective than going to a salon, it saves soooo much time in life to be able to do them in front of the TV, or just while chilling at home, in general, and not have to get dressed and travel to and from a nail establishment.

Start off with clean, groomed nails, like Karen Salkin’s are here. Photo by Mr. X, as is the one of Karen Salkin at the top of this page.
But that ability has become even more important since the Covid pandemic is still happening, no matter how much we all wish it was over already. People are finally being seen on a more frequent basis now, so we all want to look good, on every level. But I still feel that no one should be close to another person, (who is not a member of the fam or inner circle,) even with masks on, which you know most of you are not rocking! And nail techs, of course, touch your hands!!! And you can’t wash them when you leave the salon because…your nails were just done! Duh.
So I’m here to teach you the easiest way to do a home manicure. (You can thank me later.)

A very quick two-coat job I did last week. Notice the lack of spillover. Photo by Karen Salkin.
By the way–no worries if you’re not particularly ambidextrous; with my technique, you can make a mess and clean it up later. Just make sure your hands don’t need to be on display until that night or, ideally, the following day. [Note: Always try to do your home manicures many hours before bedtime—sleeping on not-fully-dry nails can cause ridges in the polish.]
Here are the steps to doing your own basic mani:
1) Always start with clean, dry nails. If you just applied hand cream, (which you should do every day,) make sure to then clean your nails and cuticles with alcohol before you begin the polishes.
2) Make sure your cuticles are groomed. It’s too late to start as you’re doing your mani, but in general, apply cuticle oil daily, then push them back gently with a non-sharp tool, such as a good old-fashioned orange stick. (But no oil on the day of your mani.)

An easy tribute-to-the-Mets mani I did quickly. Photo by Karen Salkin.
3) Gently file your nails into the shape you want, or whatever is easiest for you. The most popular is called “squoval,” which is a square-ish oval. That’s easier to maintain, and looks the classiest.
4) Begin with a base coat. A basic one will do, but there are also a variety of treatment options, (such as nail strengtheners,) which can be used as your base.
5) Let that coat dry for a minute or two, and then do one coat of color, making it as thin as possible. It will most likely look too opaque on your nails, but, unless it’s a special one-coat polish, that’s fine. The second coat will bring it all together.
6) After that first coat dries for a minute or two, do the second one, making sure it makes the color look normal enough–you don’t want to have to apply a third coat; it will make the polish too thick.
7) This one is optional, depending on how much time you have to let your nails dry, but you can always add a top coat or gloss; they both add shine, which bolder colors often need. But you do need more drying time if you choose to do it. (Or you can apply it the next day.)
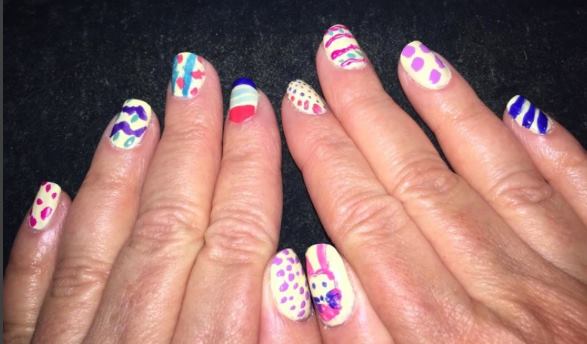
This one is more advanced, of course. It’s Karen Salkin’s Easter nails. She hand-painted each one with a different original design! Photo by Mr. X.
8) No matter how many coats you have done, a quick dry product is a must. There are sprays for that job, or little home machines that you lay your hands into, but the best thing to use is a basic quick dry liquid, which looks like a clear polish. Very lightly brush it on each nail. It’s actually an oil, so you can just sort-of drop it on there; no need for it to be exact. (Here’s a secret way to set the polish if you don’t have the oil on hand: put ice water into the biggest bowl you can find, and dip your nails gently into it.)
9) Then just let your hands lie flat for at least a good half hour, undisturbed. (So make sure you visit the restroom before you begin your mani!) An hour is even better.
10) When your nails are definitely dry, you can clean-up any mess that you got on your skin. You can do that in either of two ways. One is to use a sharp-ish nail tool to gently scrape it away, (making sure to not cut your fingers, of course,) and the other is to dip a sharp-tipped cotton swab into a tiny bit of polish remover and swab it gently on the polish overage on your skin. And just fyi—most of it comes off in the shower, so if you can do your nails the day before you need them to be seen, that’s best.
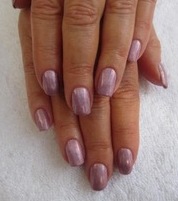
A very basic shiny manicure on Karen Salkin. Photo by IANAM staff.
Once you get used to doing them, it will be second nature to you. You could start off with a light pink polish until you get the hang of it, so any mess-ups will barely show.
And here’s one last secret tip for nail polishing. If you get a few little chips, but don’t have time to re-do the whole thing before your hands are going to be seen, just do one quick sparkly topcoat. The sparkles disguise the chips, and give your polish a new lease on life for a few more days. (By the way–it’s not great fun to remove sparkly polish from nails, but just remember to do only one light coat, and it’s really not a big problem to remove.)
I promise you that it’s all really easy enough, even with your non-dominant hand. In case you need that visual to guide you, here’s the link to my video again: www.youtube.com/watch?v=y_y6A4bxFfA.
Happy Mani-ing!


